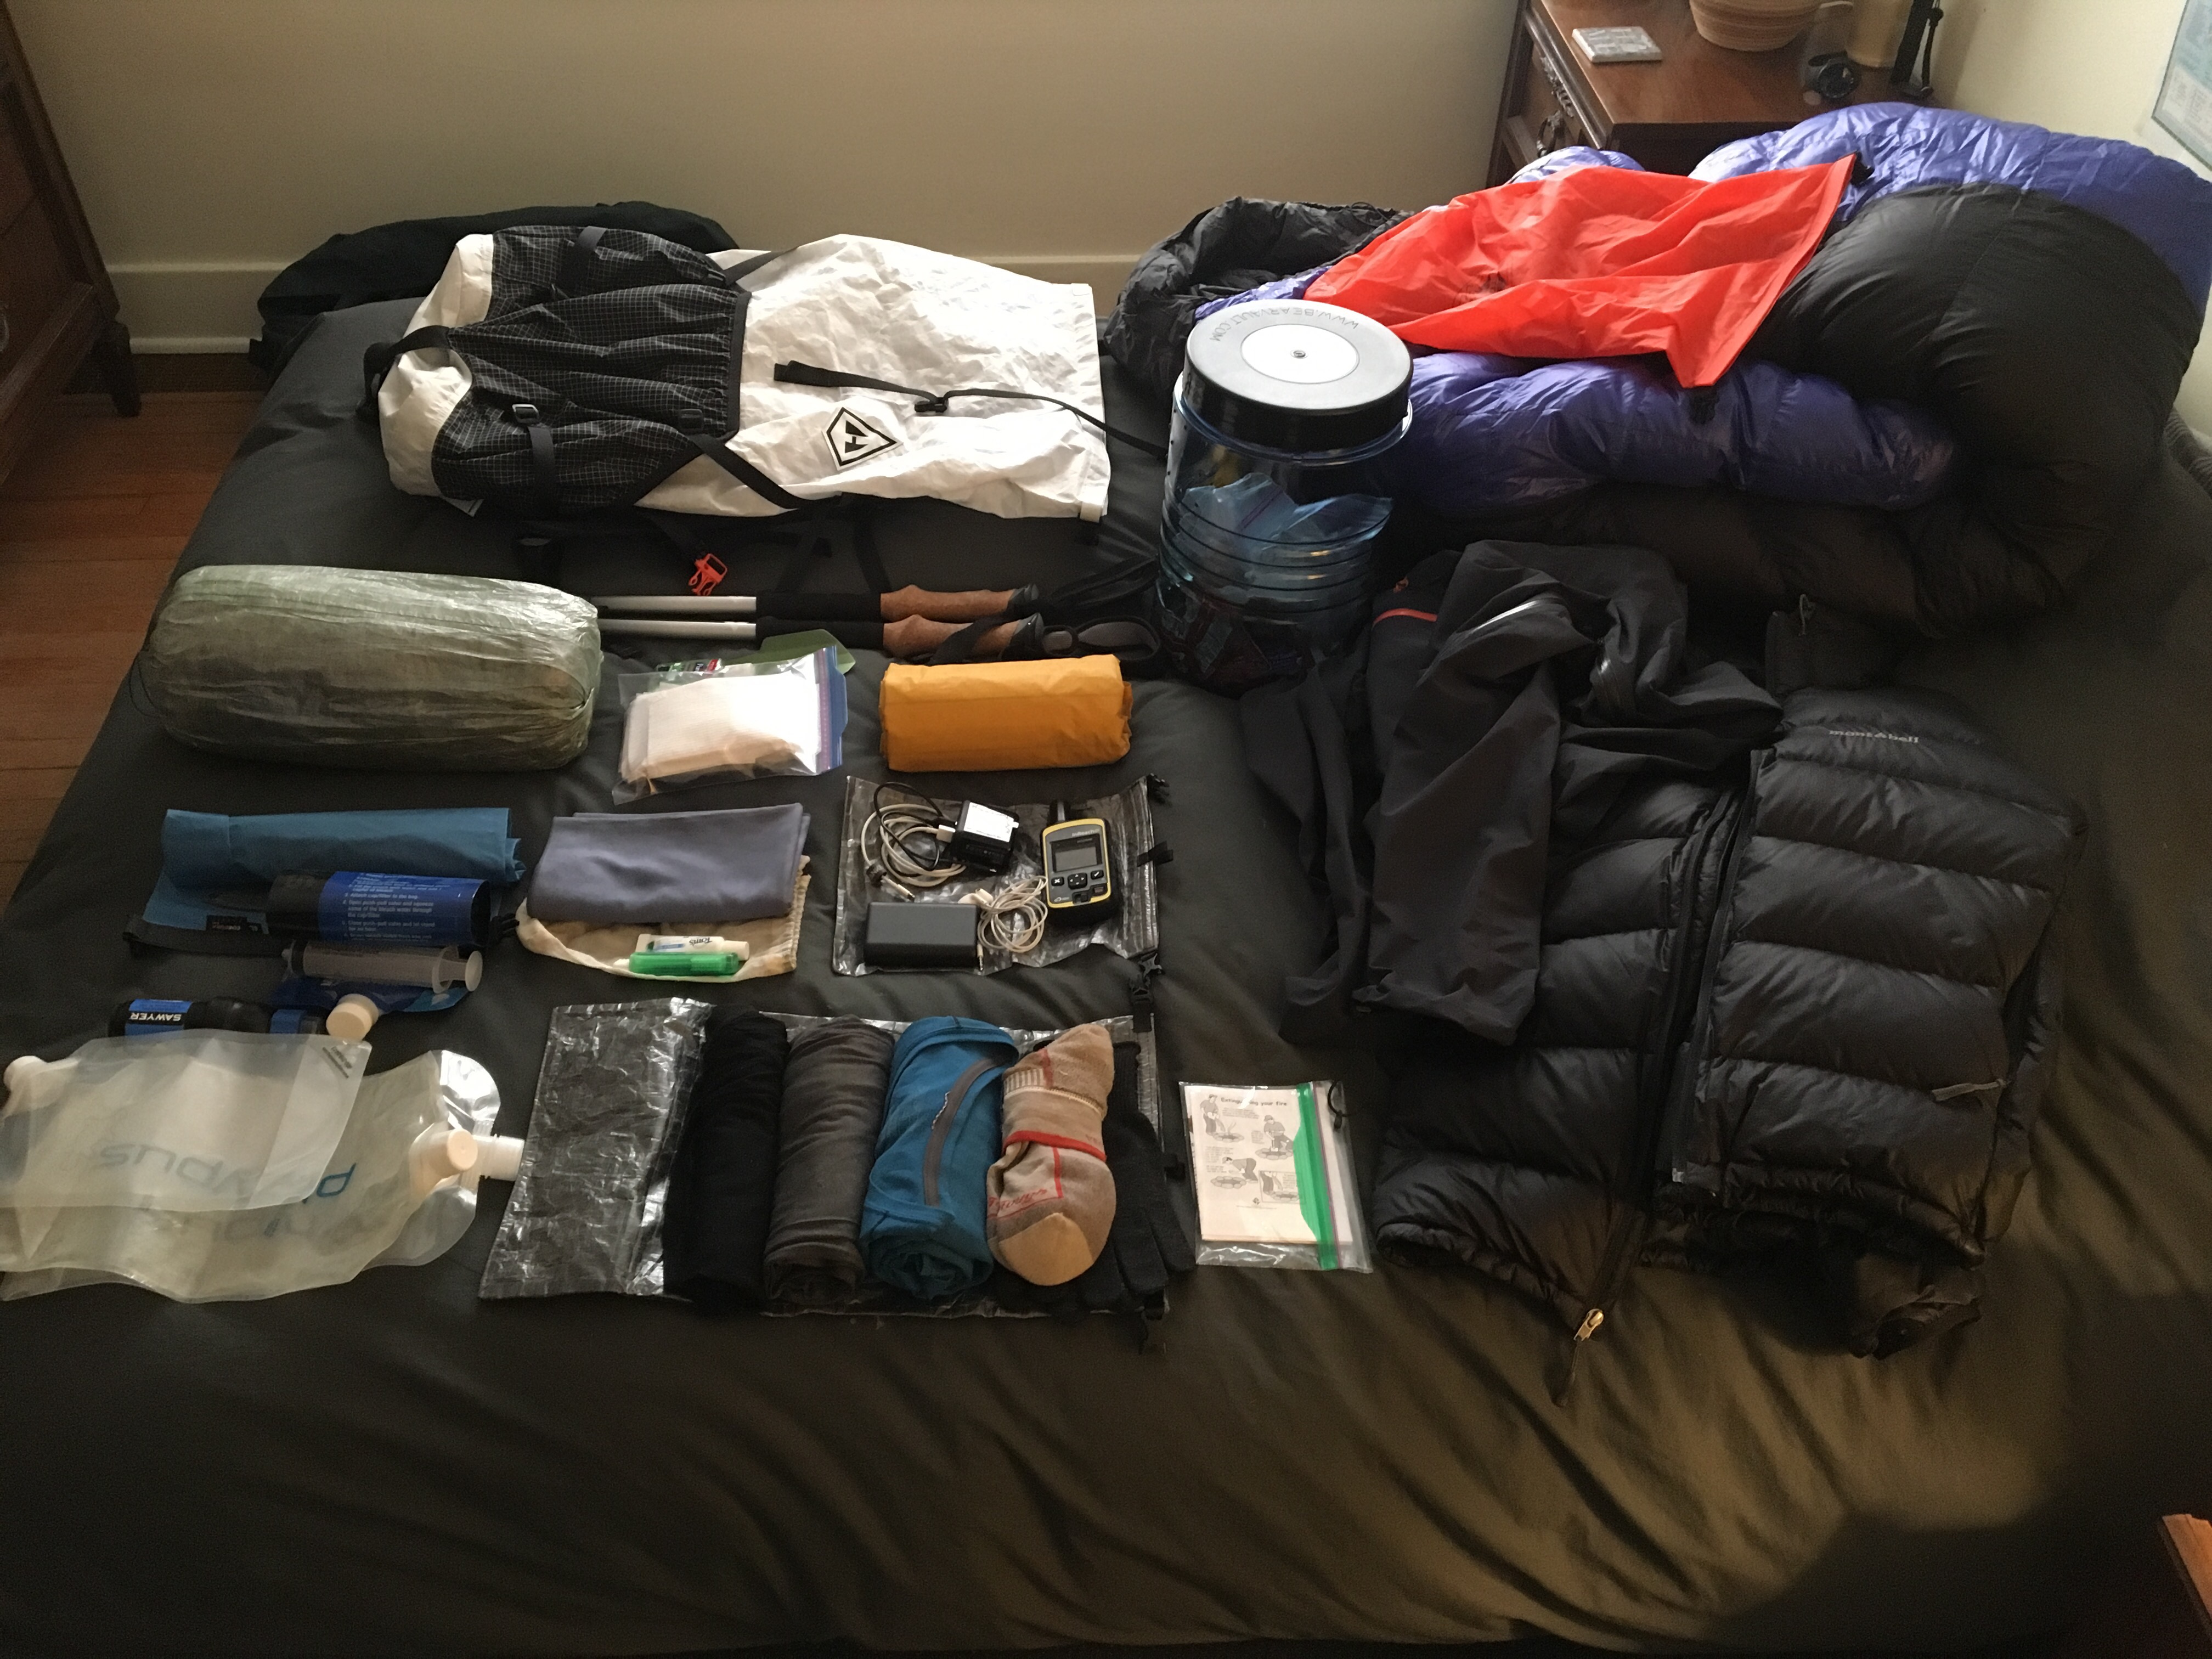
How can I make this item more useful? How can I make it more accessible? How can it fit better? Do I even need it? These thoughts entered my head about once a day while on trail. Not that I’m complaining – I love thinking about how to become more efficient with my gear set. You can see my starting gear list here. I’ll eventually update the spreadsheet version of this with notes on each item. This was extremely valuable on my Long Trail hike – write down what worked and what didn’t upon trip completion, then reference before the next hike.
Packing
Wait, I thought this was about gear? Since gear is being carried most of the time on a thru hike, how it fits/sits/packs influences what you think of it. Plus I did say these were “ramblings” not organized thoughts with some sort of flow!
First off, routine is important while packing in my opinion, for a couple of reasons. I’m sure many people are fine stuffing things in their pack randomly each day, but I can’t stand it.
- Routines generally increase in speed with repetition. As the hike went on, our wake up to hiking time decreased by several minutes.
- When packing is routine, you know where to expect each item and don’t have to look for it. The chance of losing something is lessened.
After a few weeks on trail, it’s easy to get into a morning routine. Here’s mine in all its obsessively detailed glory:
- Alarm goes off at 5:45 am and I grab my hiking shirt and pants, toss them in my sleeping bag or under my pad to warm up a bit, then doze off for a few more minutes.
- Unpack my puffy from my pillow, take off my sleep shirt/pants and put on the hiking shirt/pants. Pack the sleep clothes into the pillow and put on my puffy.
- Stuff my sleeping bag into it’s dry bag.
- Deflate, roll up, and fold my sleeping pad into a square shape.
- My pack is stored in the vestibule so I grab that and take everything out of it – this may seem weird, but I found it a lot easier (and just as fast) to pack everything into an empty pack each morning, rather than try and stuff things around where items settled overnight.
- Put the sleeping bag in dry bag into the bottom of the backpack.
- Vertically position my clothes/pillow dry bag in the pack off to one side.
- At this point nature usually calls, and while I’m out of the tent I grab our Ursacks.
- Take out snacks for the day, put in hip pocket.
- Pack Ursack into center of pack, vertically.
- Slide raincoat, rolled into burrito, in empty space in pack.
- Pack the misc items into the front compartment of the pack – poop kit, stakes, flip-flops, etc.
- Slide squared sleeping pad into front of main compartment of backpack – this worked way better than storing it rolled up and saved some space.
- Take down tent, put into stuff sack and compress into remaining open spot in backpack, also vertically. I experimented with stuffing it without the stuff sack, which just resulted in everything else in the pack getting grimy/wet. The stuff sack weights nothing and is CF anyways.
A couple of other packing related thoughts that made the day to day routine easier:
- Store tomorrow’s dinner in cook pot overnight. My pot fits ramen, couscous, etc pretty easily. This is wasted space otherwise.
- Use a different colored bottle cap for dirty water bottle/bladder, just so you always know what’s what.
- If you have a ZPacks Duplex and you haven’t tried rolling vs stuffing, you should! Saved me a surprising amount of space, made packing the bag easier. It’s pretty nominal extra effort.
Stuffing:

Rolling:

Gear Swaps/Replacements
There’s not a great way to turn this into a paragraph, so I figured I’d leave it here in case it’s of use to any future PCT hikers. Here’s a chronological list of what I changed gear wise, during our hike. Note that we skipped most of the Sierra’s, stopped in San Francisco for a couple weeks before skipping up to South Lake Tahoe.
- 1 new smart water bottle in Wrightwood
- 1 new fuel canister in Wrightwood
- Added mid layer ibex hoody to clothing
- Replaced most stakes with ones from hiker boxes
- Added 3rd pair of same socks into rotation in Tehachapi
- Added nite ize multi/pry tool thingy, impulse buy, useful for tightening trekking poles and prying/proding stuff
- New earplugs in Tehachapi
- Added flip flops/camp shoes
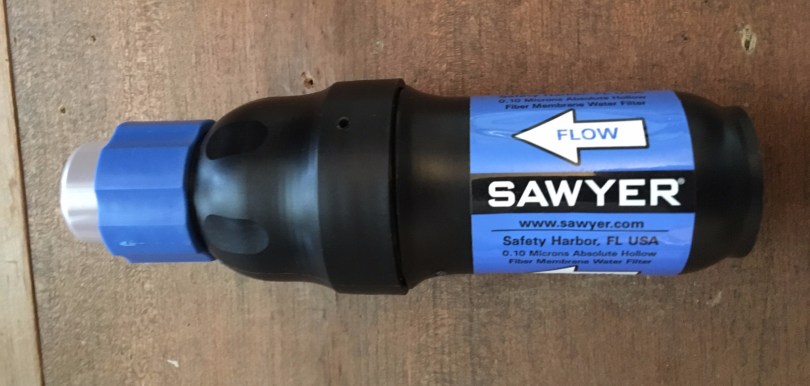
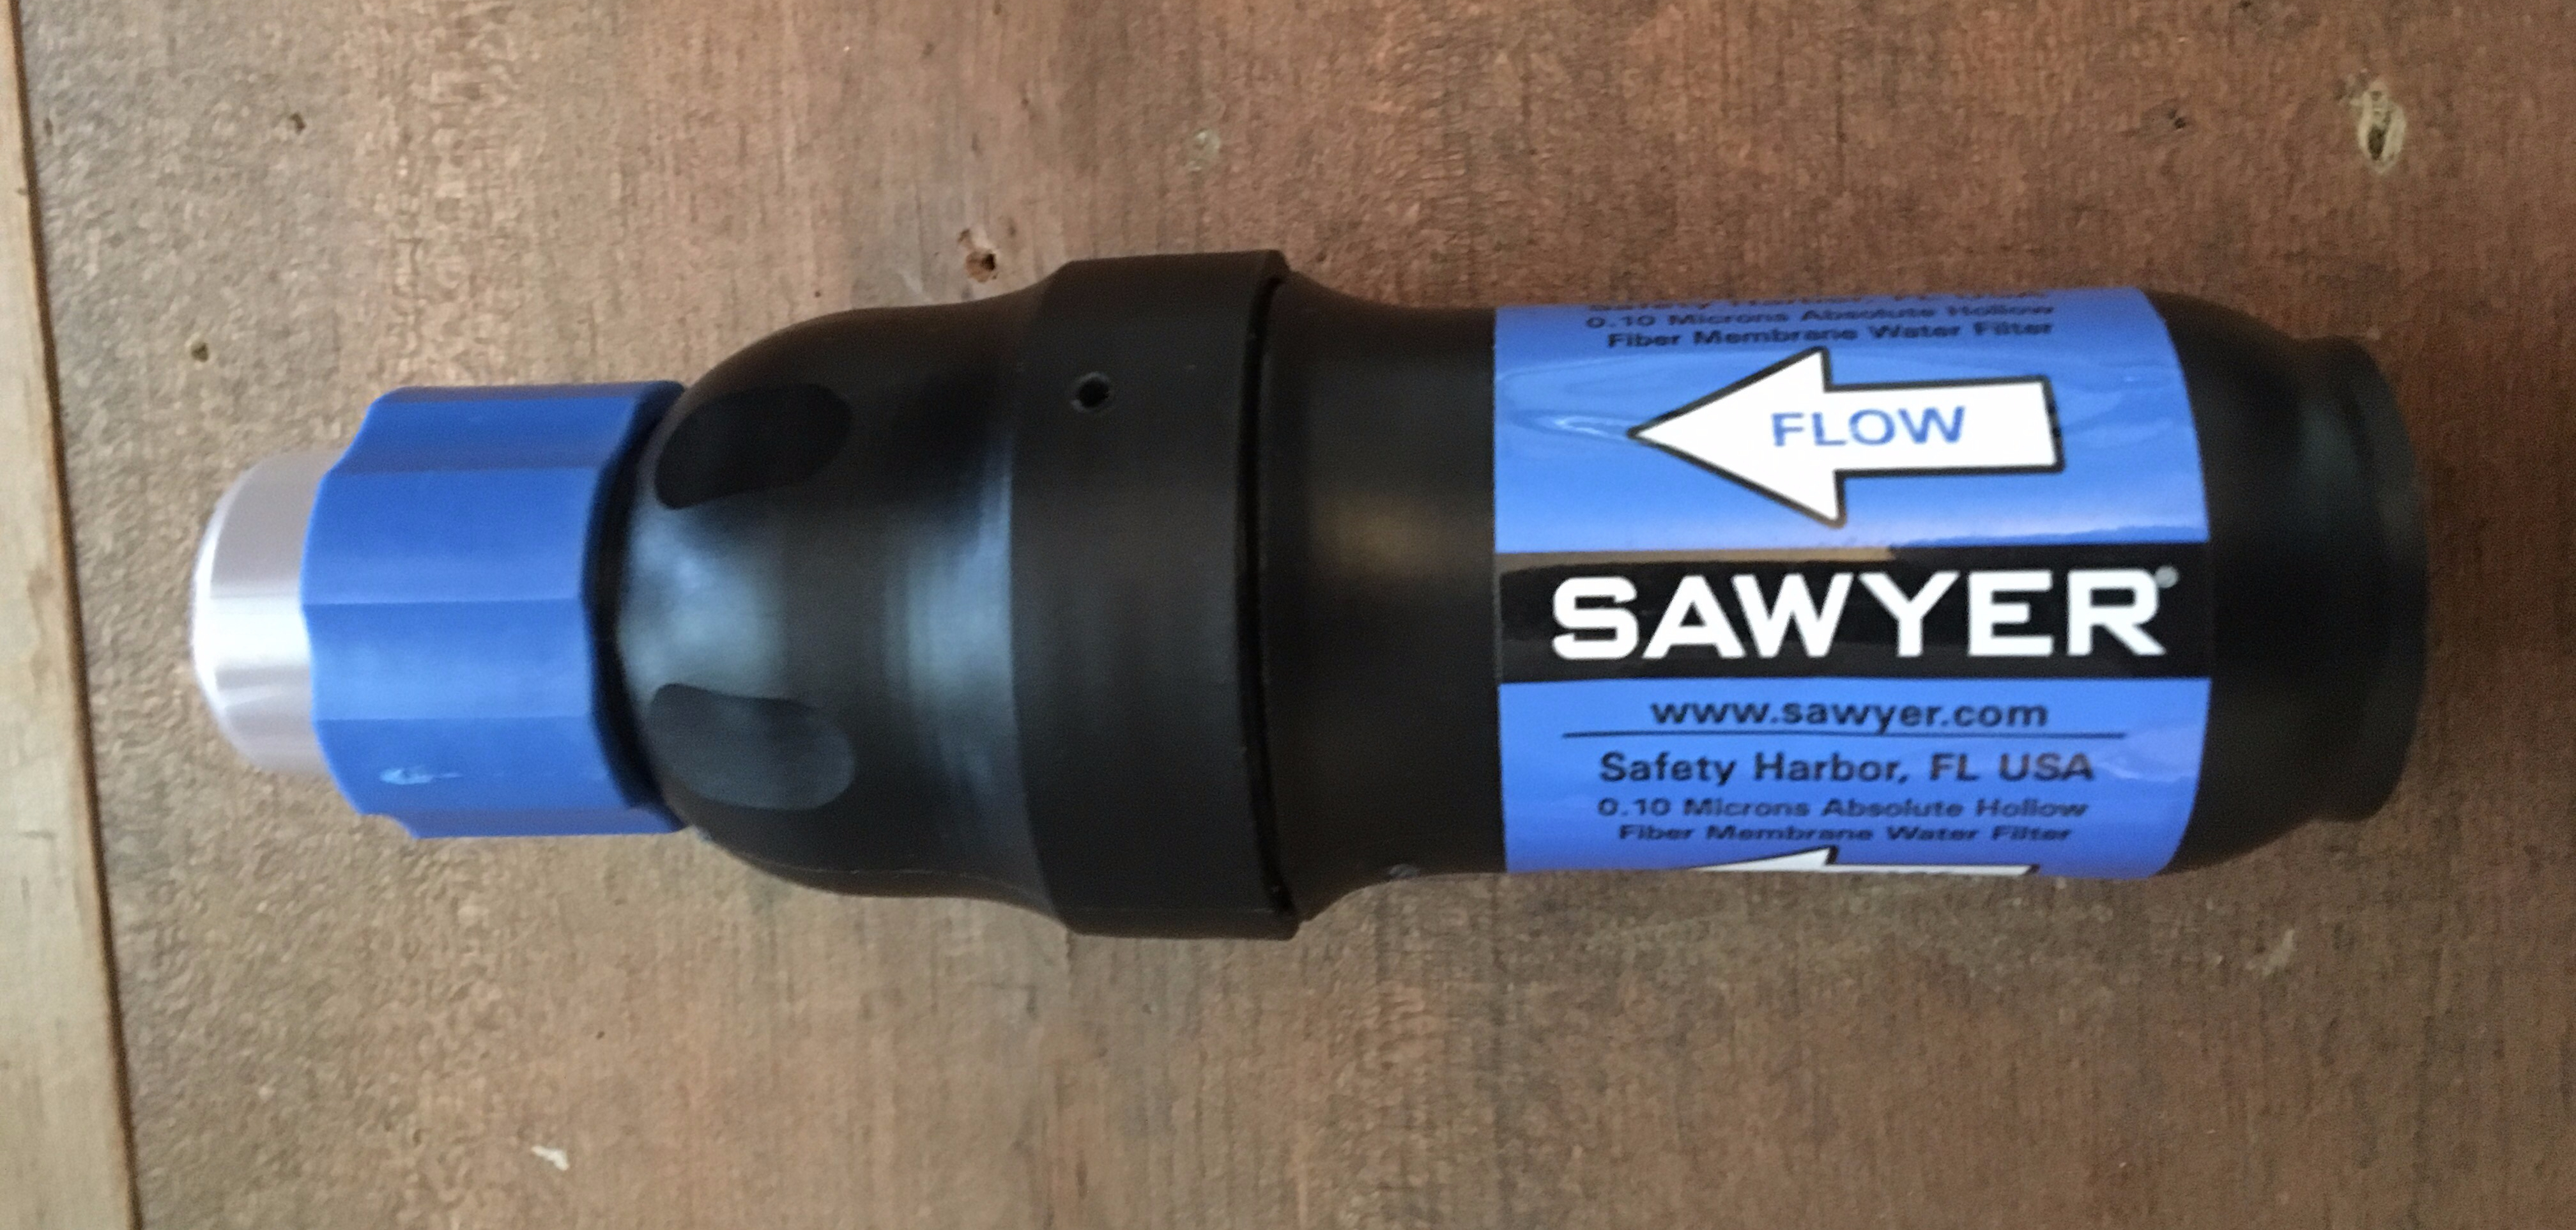
- Lost sawyer gasket then found one in hiker basket
- Trekking pole tip lost on morning walking to KM
- Kennedy Meadows/San Francisco (skipped ahead to South Lake Tahoe) – new trekking pole tips, shell gloves, atom lt, ice axe, water bottles, ursack
- Replaced earbuds at Apple Store in SF
- Sent home from Chester shell gloves, patagonia merino sleep shirt, atom lt (its hot!)
- Added poly t shirt in Chester for town wear
- Sent home ice axe, snow baskets and added bug net in Mount Shasta, added cheap bug net
- Swapped out boots for trail runners, upgraded to 4 port USB charger, new toothpaste, sent home Bear bag rope
- Got rid of scoop, we both don’t need one
- Sent home pot, capilene, got new toothbrush, insoles/superfeet, and OR sun hoody in Bend
Oddly enough, after a few months, I found myself wanting an extension cord every time we were in town. It’s not ultralight, a bit bulky, and I never ended up actually carrying one though. It would have been nice for situations with limited plugs, or space near plugs. i.e Using that random outlet behind a store front that doesn’t quite fit your USB adapter. Or when the cheap hotel has beds blocking the plugs, etc.
How did everything hold up?
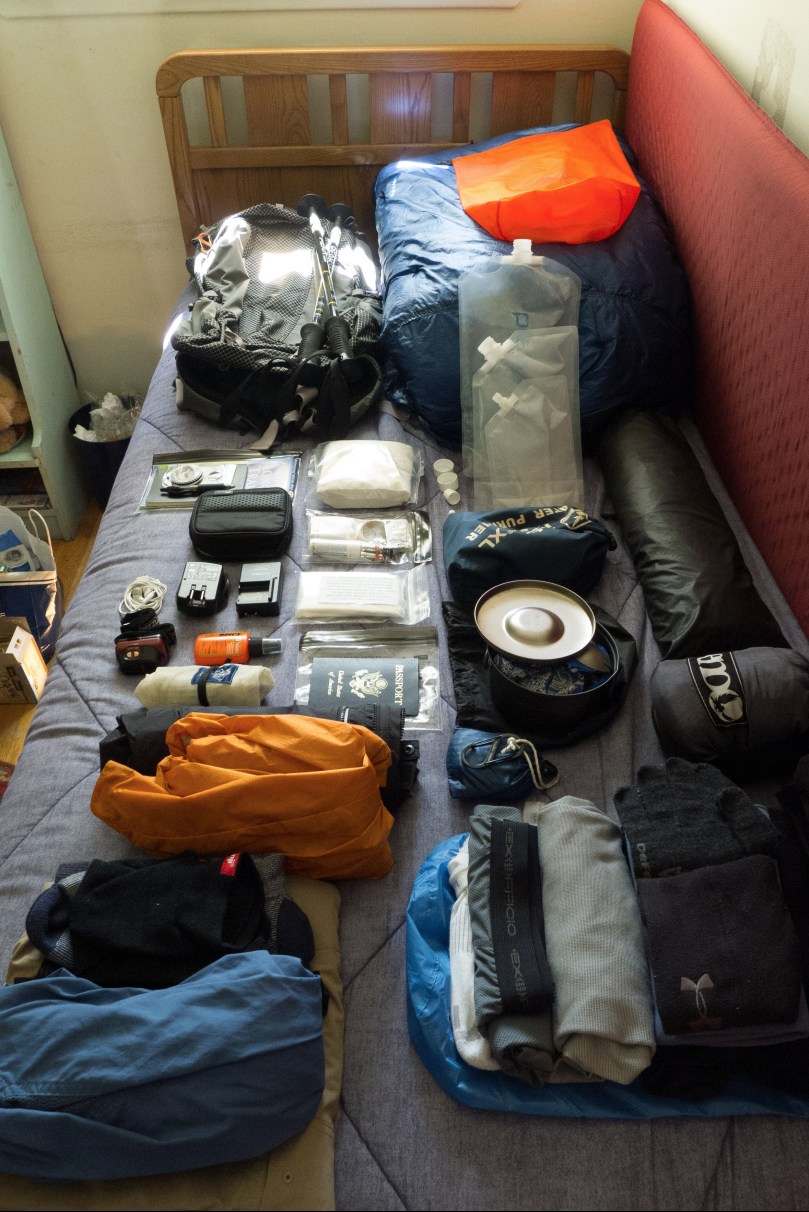
This was the state of my gear after 700 miles, while taking a few days off trail in Sam Francisco:


Backpack showing the dirt a little:


Overall I’m quite satisfied with the gear chosen and how it held up. Over the course of the trip:
- Sleeping pad was the only critical failure – I punctured a hole in it after about ~1400 miles of use. Easy field repair with patch that came with it, lasted the rest of the trip with no leaks.
- “The Big 3” are all well worn, but have plenty of life left for another long distance hike.
As long as I’m not tempted too much by new fabrics or designs, I expect to reuse most all of this gear for the next long distance hike.